|  | | | |  | |  |  | |  | |  |  | |
 Posted: Mon Dec 22, 2008 8:58 pm Posted: Mon Dec 22, 2008 8:58 pm |
 |
|
| fritz |
| Silver Status Member |

 |
|
| Joined: 25 Nov 2008 |
| Posts: 2442 |
| Location: New Jersey- outside of Philadelphia |
|
|
|
Good job with all that.  |
|
_________________
"I never set out to be wierd, it was always everyone else who called me it" -Frank Zappa
Speed is impressive, accuracy is deadly.
It's not that I'm not a people person, it's just that I'm not a stupid people person. |
|
|
|
|
|
| |  |  | | | |  |  |
| | | | | | | | | | | | | | |
| Posted: Tue Dec 23, 2008 7:15 am |
|
|
| broommaster2000 |
| Moderator |

 |
|
| Joined: 10 Mar 2007 |
| Posts: 5714 |
| Location: City of Groningen, Groningen, The Netherlands |
|
|
|
| That's going surely and steadily. |
|
|
|
|
|
|
| | | | | | | | |
| | | | | | | | | | | | | | |
| Posted: Tue Dec 23, 2008 8:24 am |
|
|
| yourdaddyjoe |
| Supporting Member |

 |
|
| Joined: 26 May 2008 |
| Posts: 4027 |
| Location: Tatorville, USA |
|
|
|
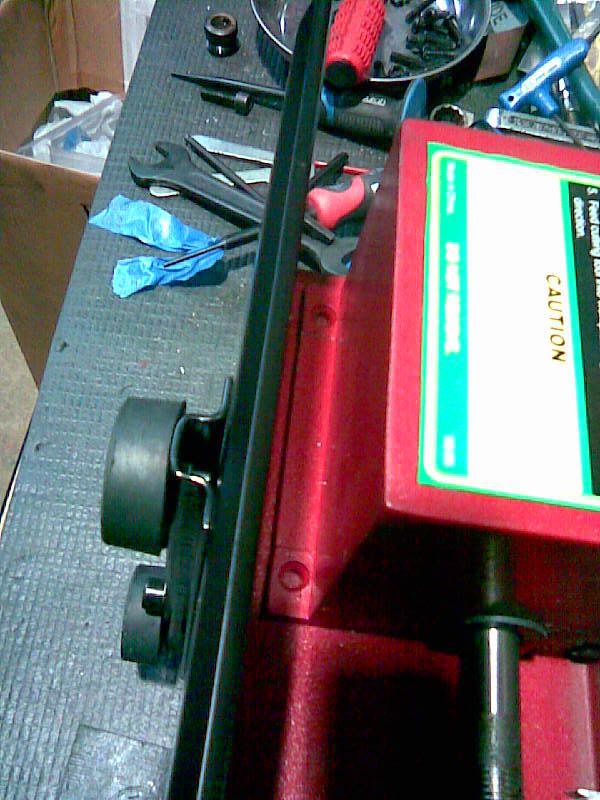
DON'T PANIC! You will notice that there are not motor mount holes in the front of the bed way... The kit has a different motor mount setup... I LIKE IT! Once I got it together... It actually ran quieter.
Talk about clear instructions... They use a little body filler (aka Bondo) to give the kit a cleaner look around the welds....
Only one draw back... you may need to clean out some threads... It is mentioned in the instructions...
***HUGE NOTE***
It is very important that you replace the Allen Cap screw mounting bolt with the regular hex bolt on the back side of the Head Stock. If you do not... The motor will not adjust.
Okay.... Now that I got this far... it is time to R&R the transmission gears...
http://www.airgunhome.com/agforum/viewtopic.php?t=2435
BRB with the rest of the story... |
|
|
|
|
|
|
| | | | | | | | |
| | | | | | | | | | | | | | |
| Posted: Tue Dec 23, 2008 10:39 am |
|
|
| Alstone |
| Moderator & Site Supporter |
 |
|
| Joined: 01 Mar 2007 |
| Posts: 4139 |
| Location: Linconshire, ENGLAND |
|
|
|
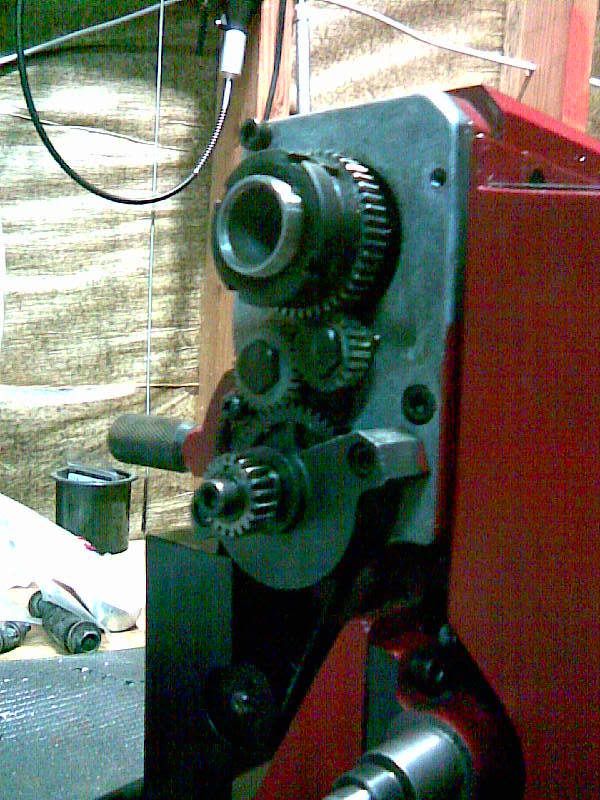
Would I be right in assuming that all the "snow" in the gearbox are bits of gear, is it a dry box or was there no oil in it.?
Whatever! your making a good job of it Joe, there will be no stopping you now. 
Al |
|
_________________

 |
|
|
|
|
|
| | | | | | | | |
| | | | | | | | | | | | | | |
| Posted: Tue Dec 23, 2008 11:10 am |
|
|
| yourdaddyjoe |
| Supporting Member |
|
|
| Joined: 26 May 2008 |
| Posts: 4027 |
| Location: Tatorville, USA |
|
|
|
| Alstone wrote: |
Would I be right in assuming that all the "snow" in the gearbox are bits of gear, is it a dry box or was there no oil in it.?
Whatever! your making a good job of it Joe, there will be no stopping you now.
Al |
That snow is the remains of the plastic gears. It's a dry box. It would be nice If I could seal it up and run some gear oil in it. Something to look into next time I have to replace the gears. Especialy since the next time I will be installing the metal ones. |
|
|
|
|
|
|
| | | | | | | | |
| | | | | | | | | | | | | | |
| Posted: Tue Dec 23, 2008 11:54 am |
|
|
| yourdaddyjoe |
| Supporting Member |
|
|
| Joined: 26 May 2008 |
| Posts: 4027 |
| Location: Tatorville, USA |
|
|
|
Where did I leave off?
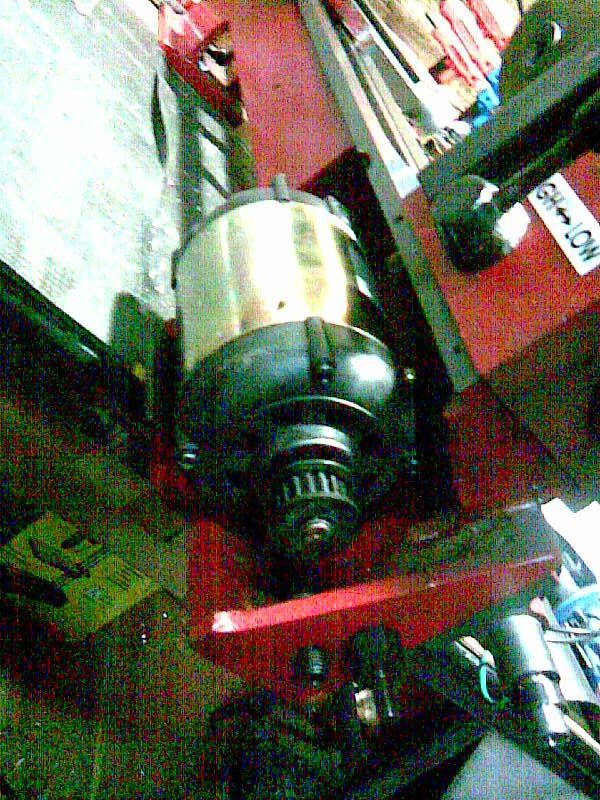
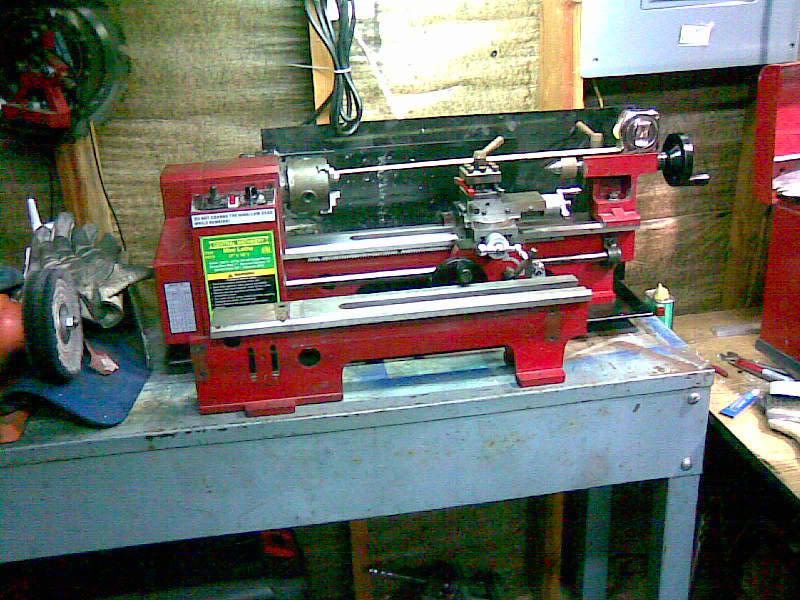
Now that I have R&R the gears in the Head Stock…
I re-installed the Head Stock.
With the new motor mount set up you gain side to side adjustability.
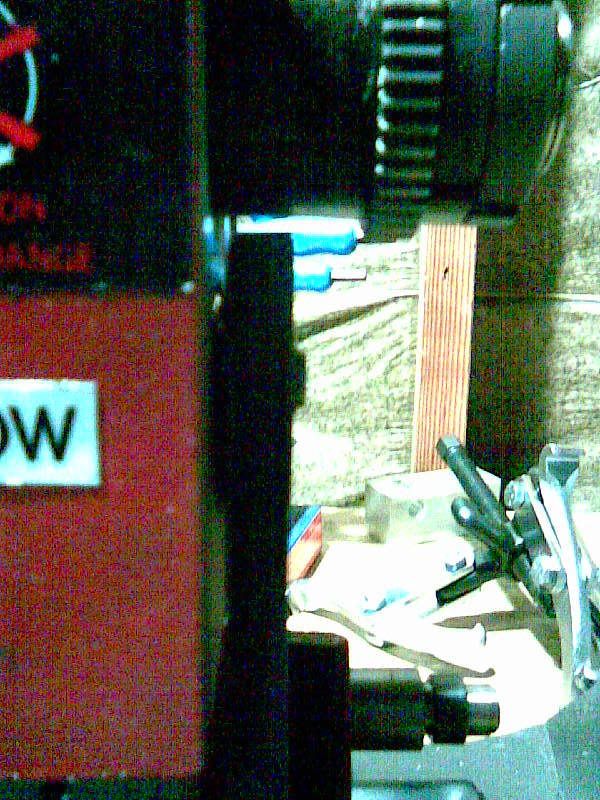
So when you install the belt you have to make sure it rides in the center of the input shaft of the Head Stock gear box. This is achieved by adjusting the dog nosed bolts side to side and turning the chuck several times.
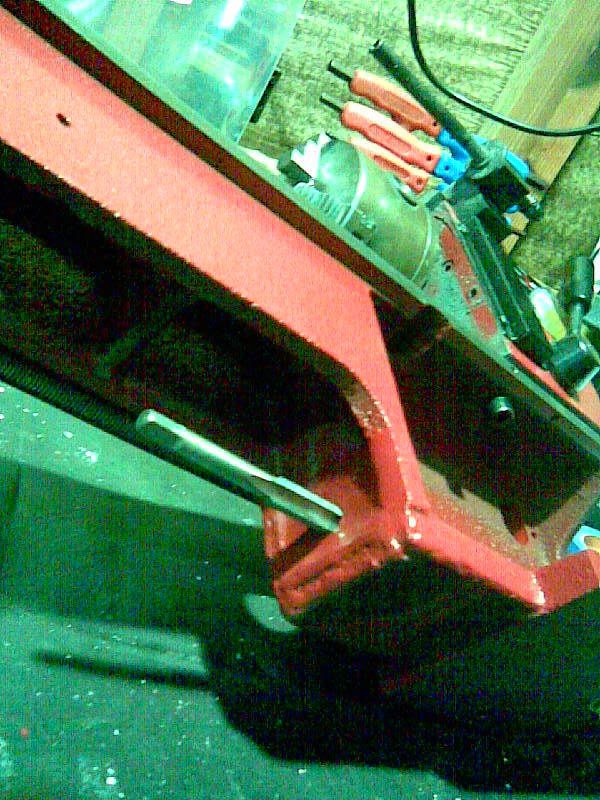
One of the other cool things that came with the kit was the longer foot supports. Now the lathe will not rock back and forth so much while hand turning the tail stock.
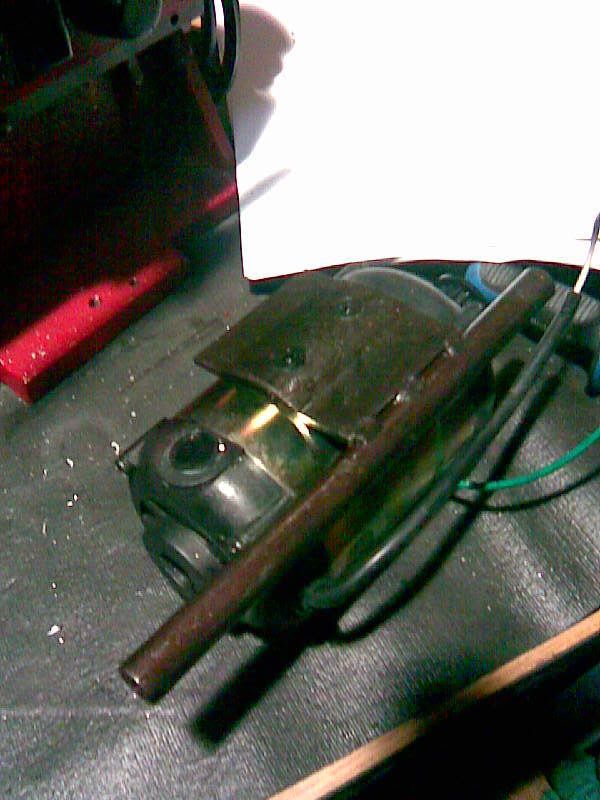
Just another photo of the feed direction gear box…
Some comparison photos of the old bed way…
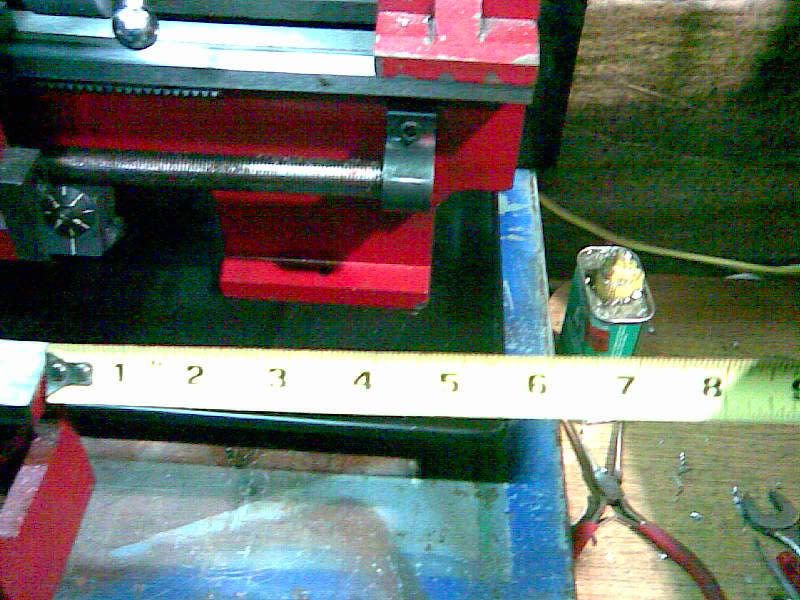
Well I finished up with the reassemble with little or no trouble at all as per the instructions… Made my final adjustments and it is good to go… Almost…
The Lead Screw is the most difficult to adjust. I drilled out the Pillow Block mounting holes an extra 1/16” and used split washers to allow for more adjustment. The Lead Screw has to spin freely and not bind up.
During the adjusting I discovered that the Apron was cracked… It did not take long for it to break… The screws used to attach the Gib Strip for the Half Nut are too short from the factory… They used M4x8 and they really should have used M4x10 or 12’s to really get into the meat of the casting… The threading is deep enough…
A quick visit to LMC on the web and a replacement Apron is on it’s way. |
|
|
|
|
|
|
| | | | | | | | |
Note: If you are seeing "Please enter your username and password to log in." Your browser cookies have been reset
or you need to register to access the topic in question. Use the 'Register' button near the top left of this page.
|