 |  | | | |  | |  |  | QB78 tear down |  | |  |  | |
 Posted: Fri Jul 27, 2007 1:58 pm Posted: Fri Jul 27, 2007 1:58 pm |
 |
|
| leadman |
| Veteran Member |

|
|
| Joined: 10 Feb 2007 |
| Posts: 215 |
|
|
|
|
I am posting a photo teardown of the QB78 (sorry in advance if some of the pics are hard to see.
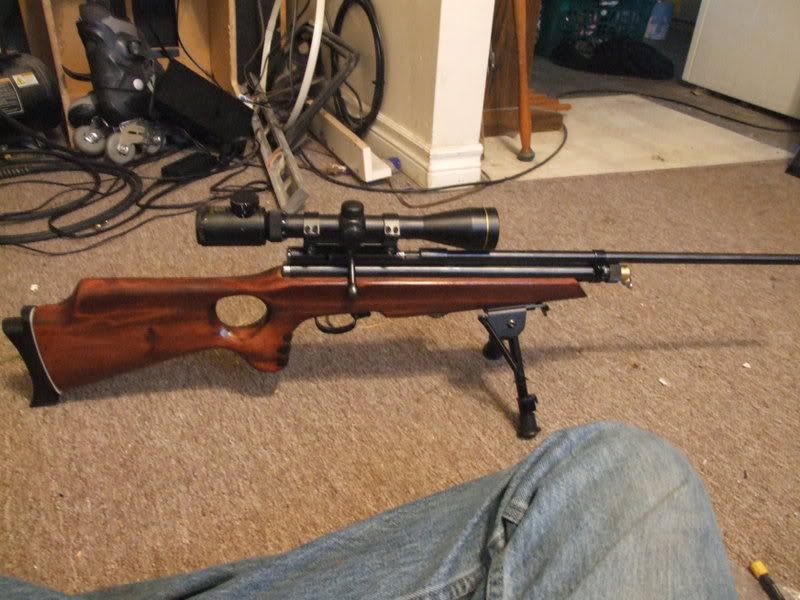
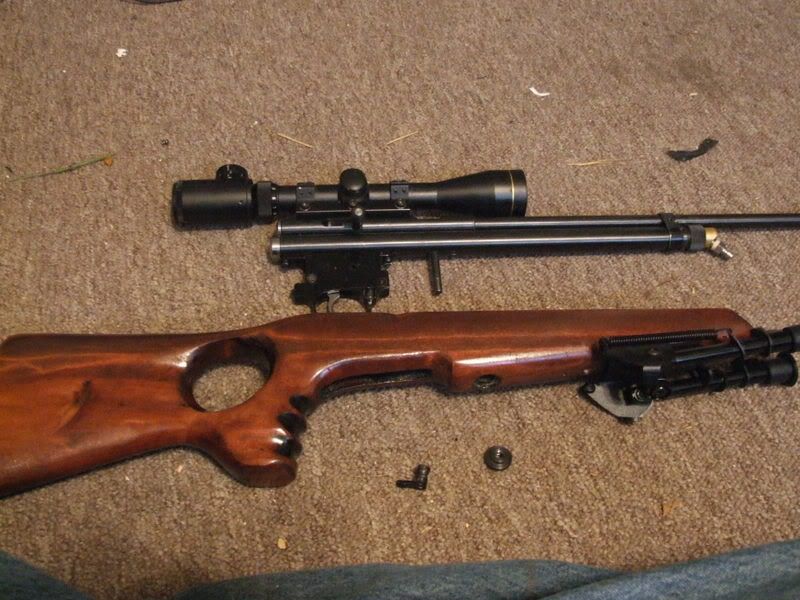
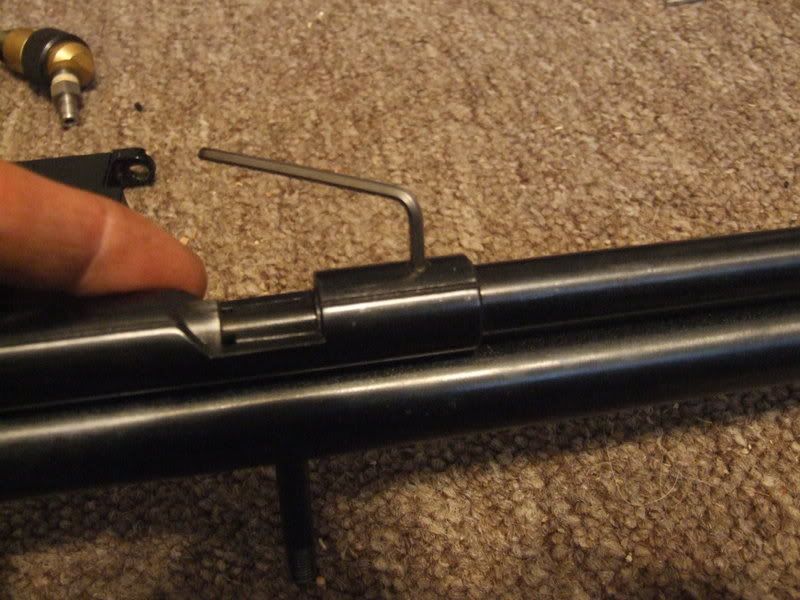
first pic is my qb78 before teardown
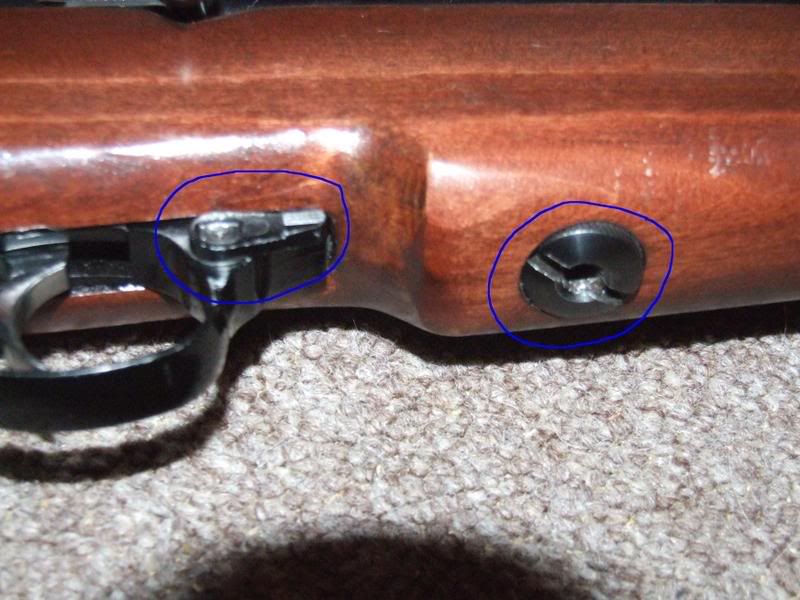
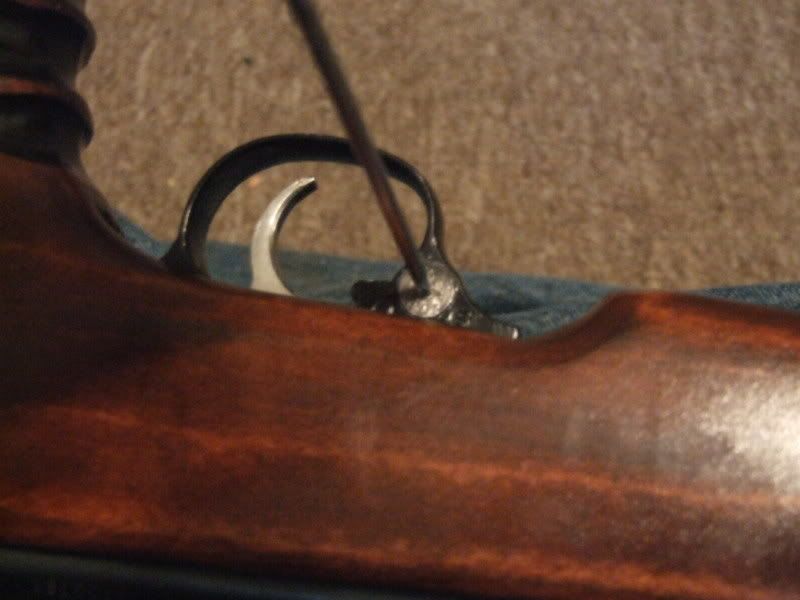
remove the screw and then punch out the safety
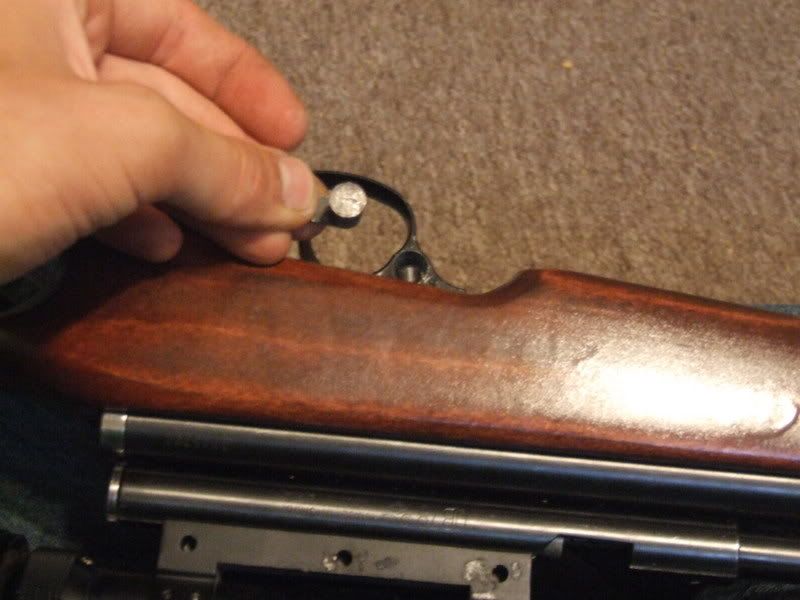
Next pull the action assembly out of the stock
next you want to remove the endcap and barrel band
Now you want to remove the trigger group by taking out these two screws

Now you can remove the rear endcaps, trigger group screws and trigger group
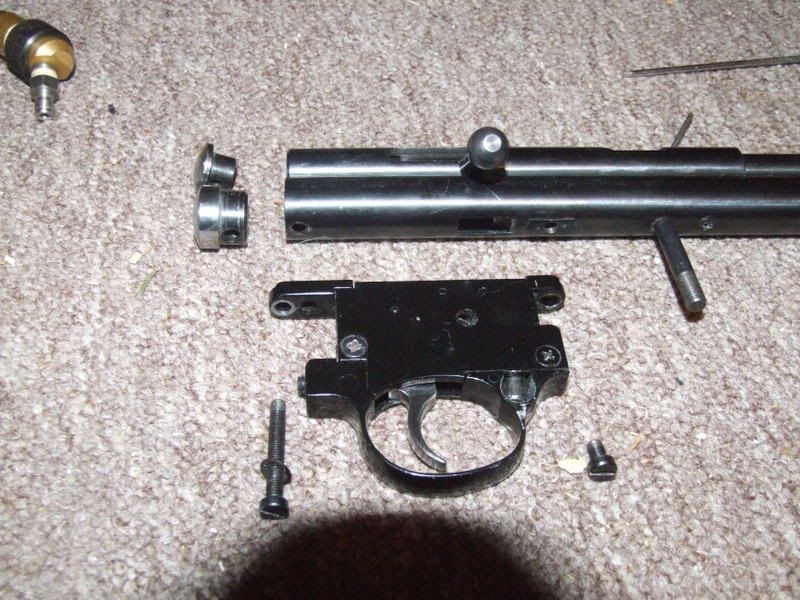
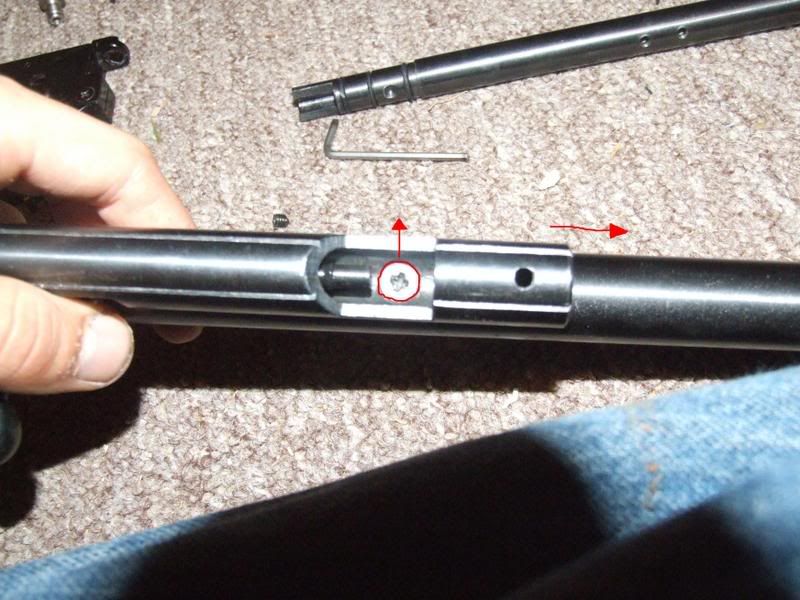
Now remove the barrel set screw and gently twist out barrel
Remove the screw that holds the breech down (this can only be seen after removal of the barrel)
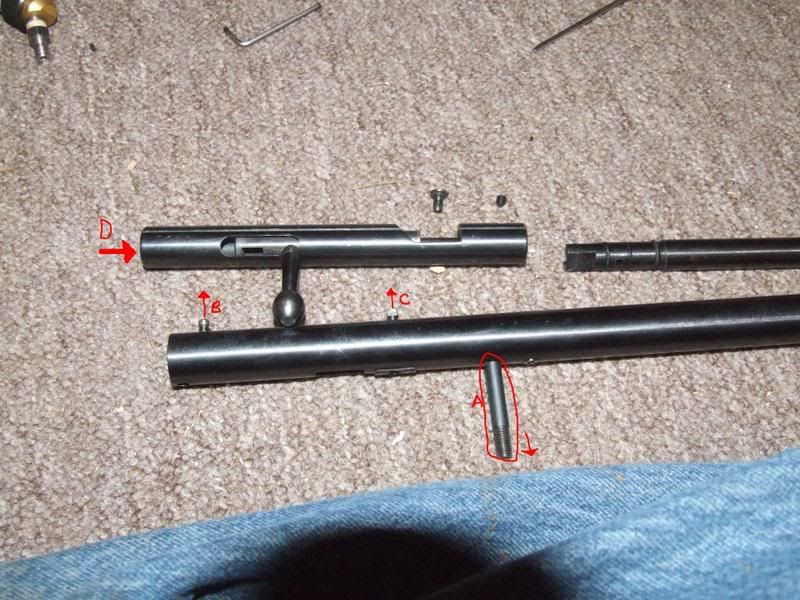
unscrew part (A) in the end of the bolt there is a set screw that holds the bolt handle in, remove that (D), pull (B) and (C) straight out. this will free up the bolt, the hammer assembly.
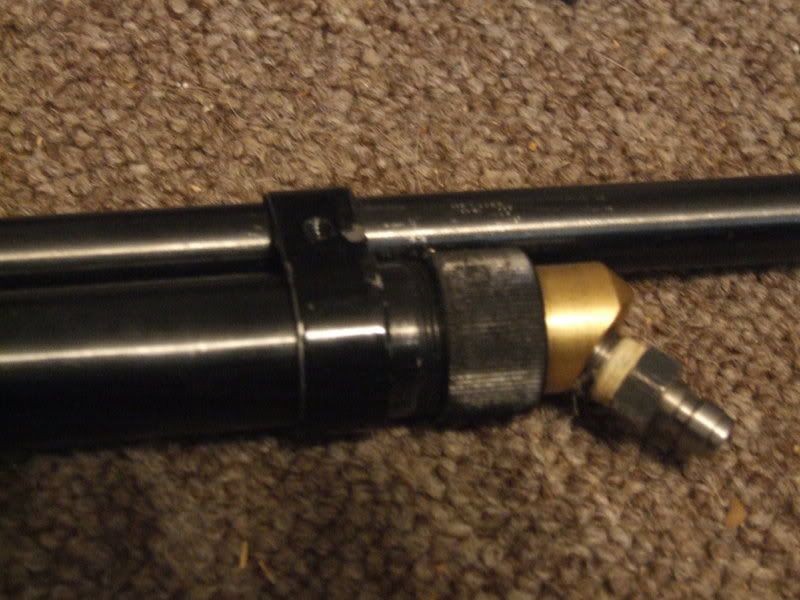
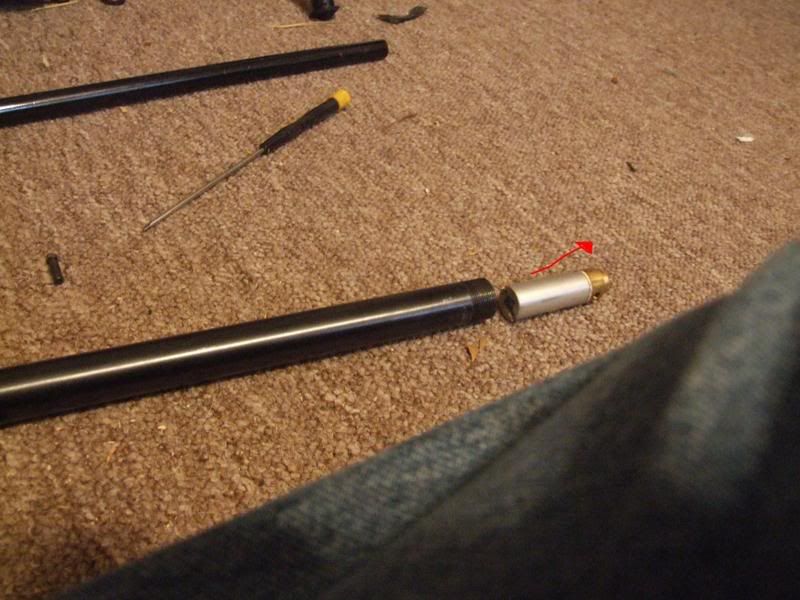
Remove the screw that holds the valve in.
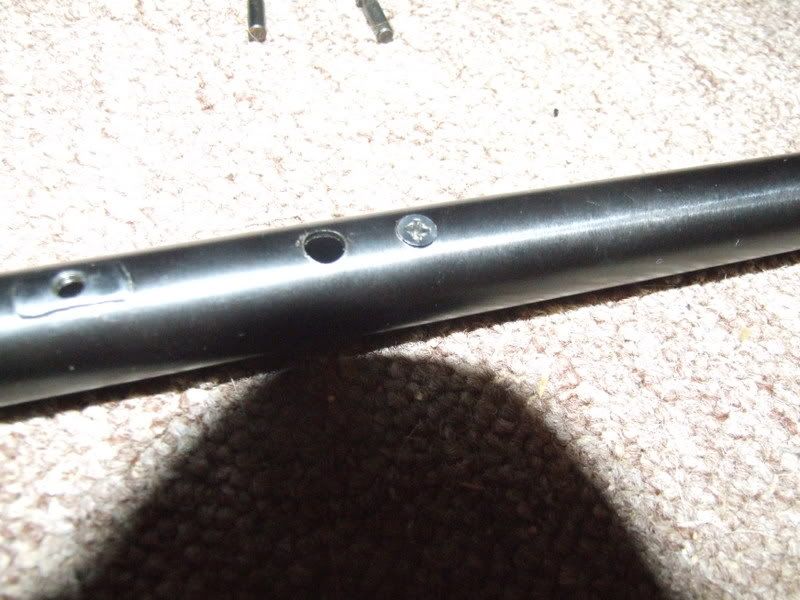
The valve comes out the front of the tube (the end you put C02 in
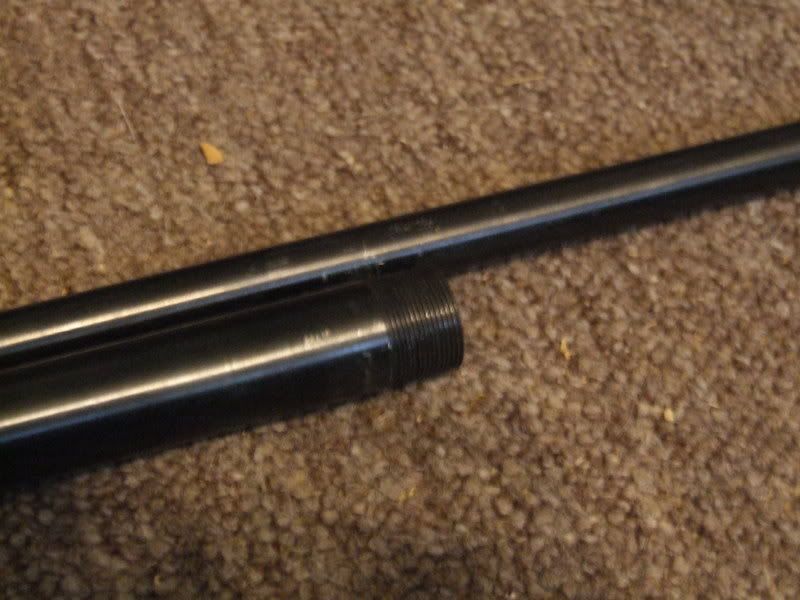
Here is a QB tube (top) next to a 2260 tube (not top) for comparison.
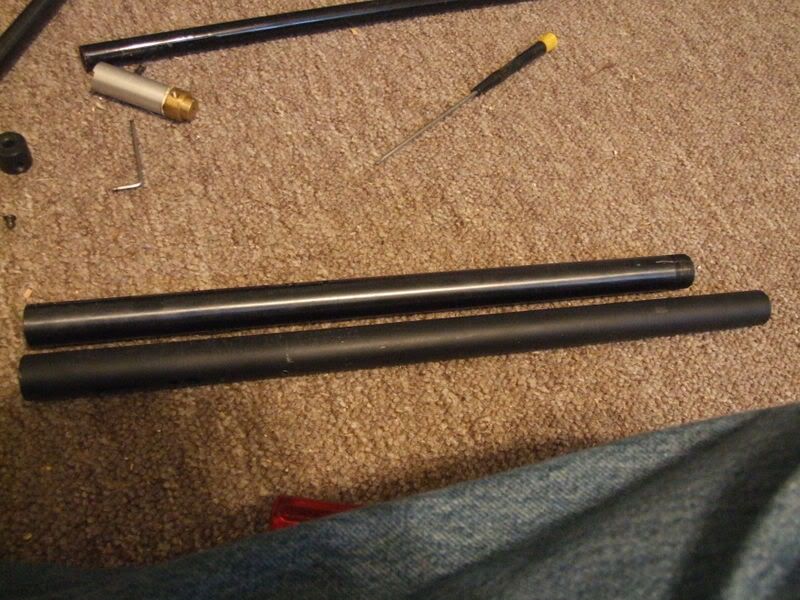
IMHO there is more work involved in tearing down the qb but it is a much better airgun due to the solid build, superior accuracy, and it comes capable of bulk fill, all you need is the endcap which cost me 35$ canadian.
i hope someone will find this useful
Eric |
|
|
|
|
|
|
| |  |  | | | |  |  |
| | | | | | | | | | | | | | |
| Posted: Fri Jul 27, 2007 2:30 pm |
|
|
| broommaster2000 |
| Moderator |

 |
|
| Joined: 10 Mar 2007 |
| Posts: 5714 |
| Location: City of Groningen, Groningen, The Netherlands |
|
|
|
It was interesting the least. Seems easy enough. Good job. No comments yet.  |
|
|
|
|
|
|
| | | | | | | | |
| | | | | | | | | | | | | | |
| Posted: Fri Jul 27, 2007 2:59 pm |
|
|
| leadman |
| Veteran Member |
|
|
| Joined: 10 Feb 2007 |
| Posts: 215 |
|
|
|
|
| all the other instructionals i have found are vauge and havnt found a photo one so yeah |
|
|
|
|
|
|
| | | | | | | | |
| | | | | | | | | | | | | | |
| Posted: Fri Jul 27, 2007 3:16 pm |
|
|
| StevieLaner7777 |
| Moderator |
 |
|
| Joined: 07 Mar 2007 |
| Posts: 1060 |
| Location: Herefordshire, UK |
|
|
|
Wow!! Nice work Leadman!
But I'd just like to add that the safety has to be the "SAFE" position before you can knock it out and if you use an old cloth to cover the safety this will stop it from taking the finish off.
Stevie  |
|
_________________
"Who Dares Wins" - SAS 22nd Regiment Hereford. |
|
|
|
|
|
| | | | | | | | |
| | | | | | | | | | | | | | |
| Posted: Fri Jul 27, 2007 4:22 pm |
|
|
| johncedarhill |
| Member |

|
|
| Joined: 16 Jul 2007 |
| Posts: 14 |
|
|
|
|
thanks
I just bought one so this information may come in very handy. Of course I hope I can put one back together. |
|
_________________
God Bless the Troops! |
|
|
|
|
|
| | | | | | | | |
| | | | | | | | | | | | | | |
| Posted: Fri Jul 27, 2007 4:29 pm |
|
|
| leadman |
| Veteran Member |
|
|
| Joined: 10 Feb 2007 |
| Posts: 215 |
|
|
|
|
thanks steve i forgot to mention that one  and that cloth idea is a good one and that cloth idea is a good one |
|
|
|
|
|
|
| | | | | | | | |
| | | | | | | | | | | | | | |
| Posted: Fri Jul 27, 2007 5:36 pm |
|
|
| StevieLaner7777 |
| Moderator |
|
|
| Joined: 07 Mar 2007 |
| Posts: 1060 |
| Location: Herefordshire, UK |
|
|
|
Hi Leadman
It might be a good idea to add the extra info on the safety lever removal to your guide so people don't miss out on it.
Also I would just like to know a few things about your QB78:
Is that a different trigger or did you polish the original one? If so what did you use to polish it?
Is your barrel band metal or plastic?
Is your bolt handle a bit wobbly in the bolt slide?
And do/did you find the bolt to be quite difficult to close when you first got the rifle or is it always difficult to close, Like it's sticking because there is not enough oil on the bolt slide, Not gummy sticky, But the raw metal on metal kind of sticky???
Lastly, Once again good work Leadman!! I will be sure to use this guide when I do any work on my Bro's, Or my QB78/XS78 when I get my own.
Stevie |
|
_________________
"Who Dares Wins" - SAS 22nd Regiment Hereford. |
|
|
|
|
|
| | | | | | | | |
| | | | | | | | | | | | | | |
| Posted: Fri Jul 27, 2007 7:44 pm |
|
|
| leadman |
| Veteran Member |
|
|
| Joined: 10 Feb 2007 |
| Posts: 215 |
|
|
|
|
| that is the stock trigger, all i used was 800 grit sandpaper then moved up to 1000 grit and then after that, my dremel bit set came with these blue bits that polish metal really well. after that i took a felt polishing wheel and metal polish and brought it to a buff shine. a couple coats of clear lacquer and it was good to go. |
|
|
|
|
|
|
| | | | | | | | |
| | | | | | | | | | | | | | |
| Posted: Fri Jul 27, 2007 8:07 pm |
|
|
| leadman |
| Veteran Member |
|
|
| Joined: 10 Feb 2007 |
| Posts: 215 |
|
|
|
|
| and my bolt has operated smooth as butter sence day one, maybe try wrapping some 800 grit wet dry paper around a drillbit and polishing the breech internals |
|
|
|
|
|
|
| | | | | | | | |
| | | | | | | | | | | | | | |
| Posted: Sun Jul 29, 2007 11:16 am |
|
|
| StevieLaner7777 |
| Moderator |
|
|
| Joined: 07 Mar 2007 |
| Posts: 1060 |
| Location: Herefordshire, UK |
|
|
|
Hi Leadman
OK, So I got round to fixing the loose bolt handle on my Bro's QB78 yesterday, I took the stock off then the whole trigger mechanism and eased the end caps off and used a 2mm Allen key/Hex wrench to tighten up the grub screw that holds the bolt handle in place on the bolt slide.
So That's fixed now, I though that wasn't supposed to be like that when he first got the rifle, Seem the factory just forgot to tighten it up fully 
Next thing to do on it now is to sort out why the bolt slide is so stiff 
Stevie |
|
_________________
"Who Dares Wins" - SAS 22nd Regiment Hereford. |
|
|
|
|
|
| | | | | | | | |
| | | | | | | | | QB78 tear down | | | | | |
Air Gun Home Forum Index » Rifles
You cannot post new topics in this forum
You cannot reply to topics in this forum
You cannot edit your posts in this forum
You cannot delete your posts in this forum
You cannot vote in polls in this forum
|
All times are GMT - 5 Hours
Page 1 of 1
|
|
|
|
| | | | | | | | |
Note: If you are seeing "Please enter your username and password to log in." Your browser cookies have been reset
or you need to register to access the topic in question. Use the 'Register' button near the top left of this page.
|


